News
Commentary
The Magazine
Donate
Subscribe
Search for:
61st General Conference Session
Home
Photo Gallery
Videos
Proceedings
Nominating Committee Reports
Visit the virtual exhibit
Review proceedings
Twitter
Facebook
Instagram
YouTube
GC Gallery
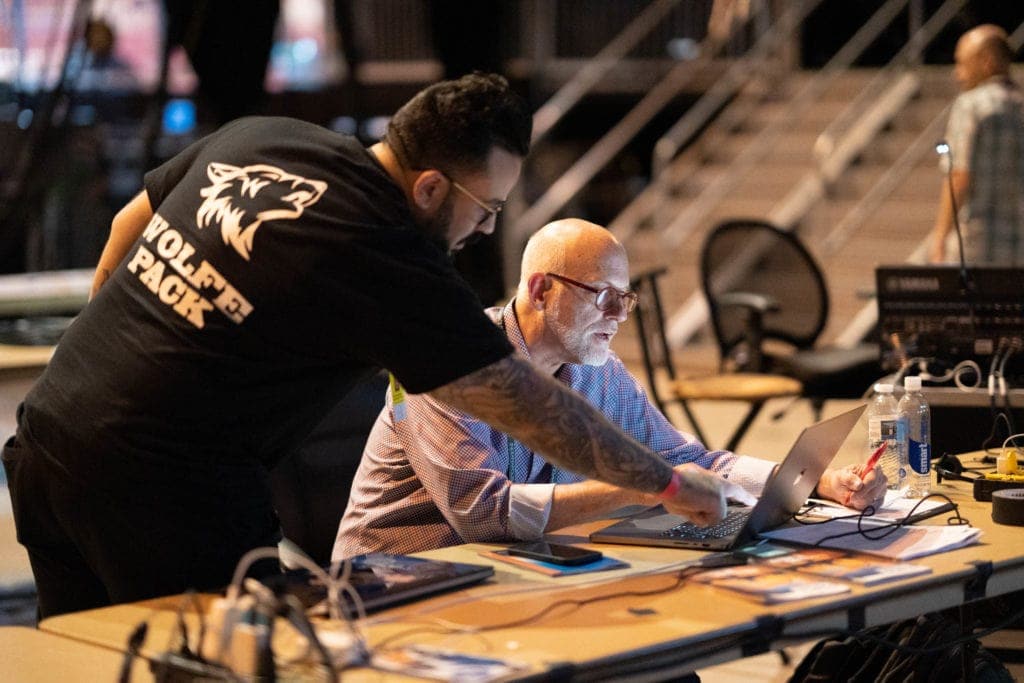
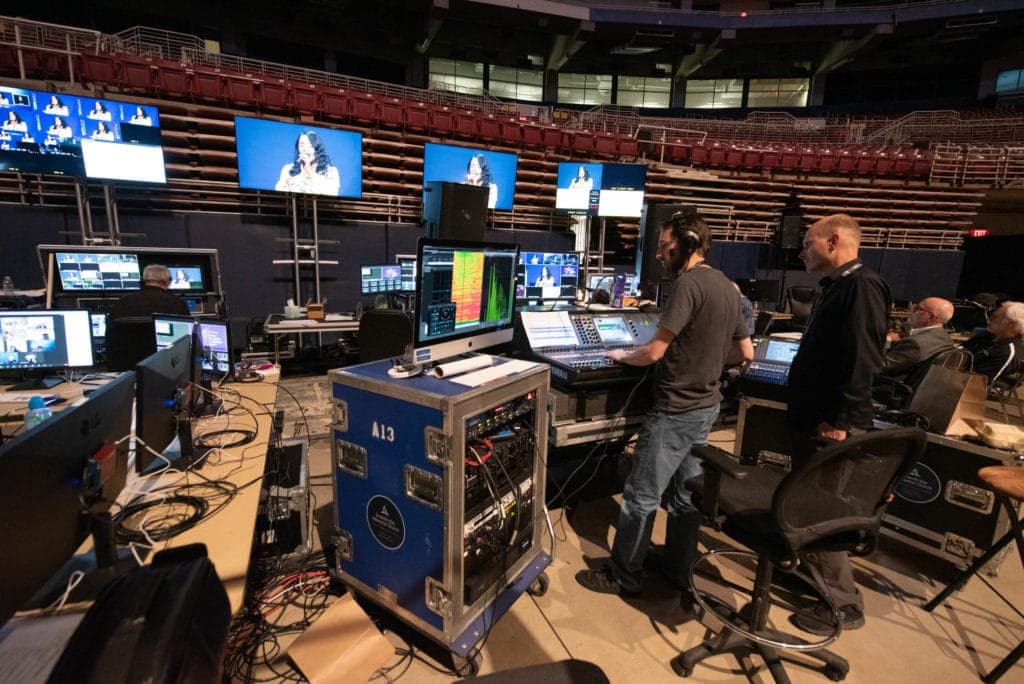
Behind the Scenes
Session Life
Adventist Review is the flagship journal of the Seventh-day Adventist Church, and is a part of Adventist Review Media.
©
2024
ADVENTIST REVIEW MEDIA
12501 OLD COLUMBIA PIKE, SILVER SPRING, MD 20904 USA. 301-680-6563.
PRIVACY POLICY
twitter
youtube-play
instagram
facebook-official